Welcome to a new React JS project, where we are going to build a simple app using Final Space API.
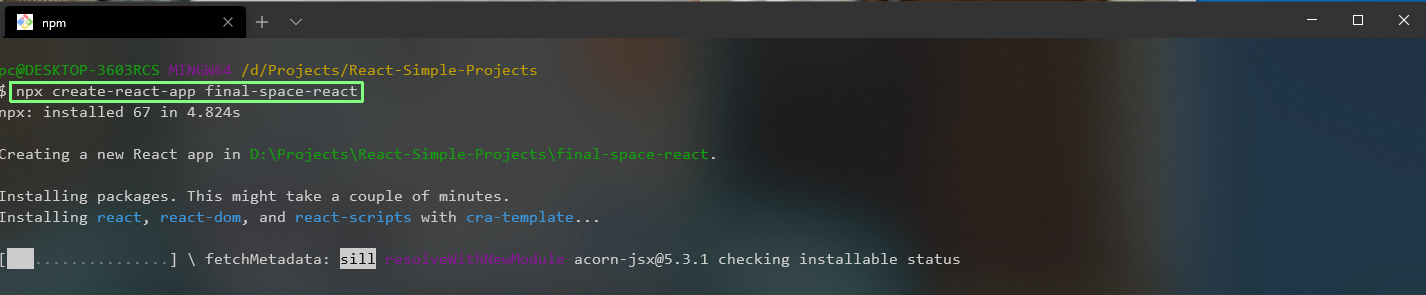
So, fire up your terminal and create a new react app final-space-react with the below command.
We will remove all the unnecessary boiler-plate code and the index.js will look like it does below.
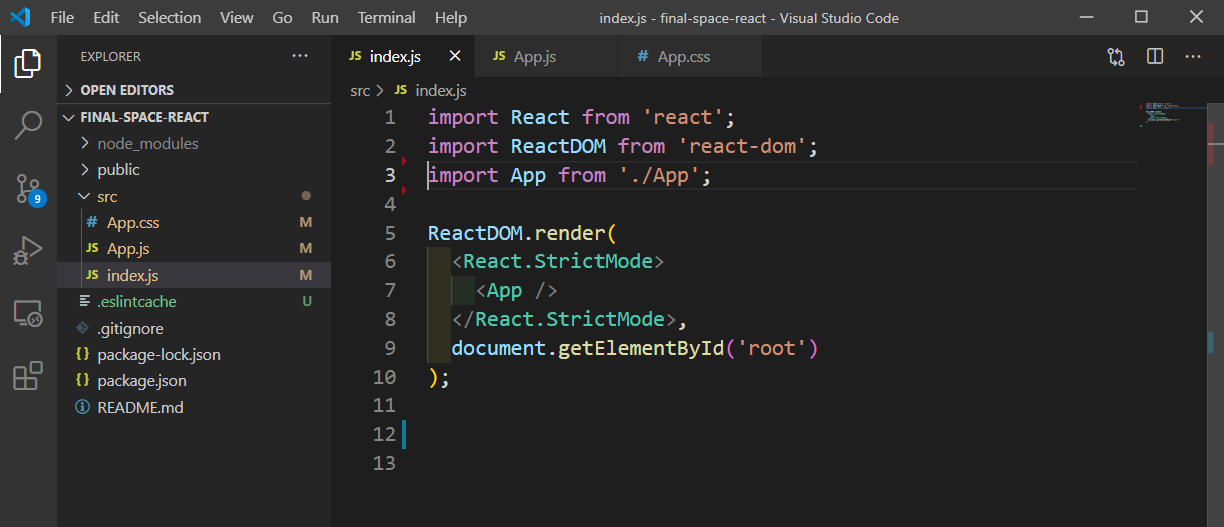
And the App.js contains only the Hello World text. We have also removed all content from App.css file.

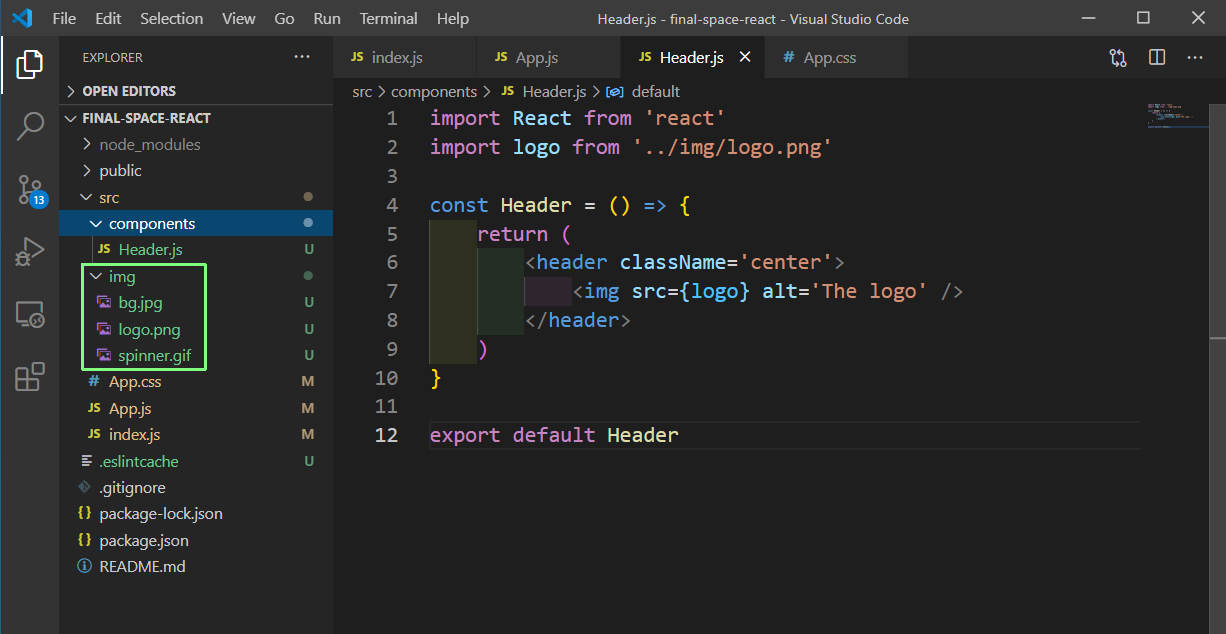
Next, create an img folder inside the src folder. The content for the same can be taken from the GitHub repo at the end of the post.
Also, create a components folder inside src folder and create a file Header.js inside it. We are showing the logo in it.
Next, put the below content in App.css. We are not going to go through the CSS, as it’s a React project.
* {
box-sizing: border-box;
margin: 0;
padding: 0;
}html,
body {
background: #000 url('img/bg.jpg') no-repeat center center/cover;
height: 100vh;
color: #fff;
font-family: Arial, Helvetica, sans-serif;
}a {
text-decoration: none;
}.container {
max-width: 1100px;
margin: auto;
padding: 0 20px;
}.btn {
display: inline-block;
color: #fff;
background-color: #3fb573;
font-size: 1em;
text-align: center;
padding: 10px 15px;
border: 0;
margin: 10px 0;
}header {
height: 200px;
}header img {
width: 200px;
}.center {
display: flex;
align-items: center;
justify-content: center;
}.search {
height: 100px;
}input[type='text'] {
display: block;
padding: 10px;
font-size: 20px;
border: 0;
border-radius: 5px;
width: 60%;
margin: auto;
}.cards {
display: grid;
grid-template-columns: repeat(4, 1fr);
gap: 1rem;
}.card {
cursor: pointer;
background-color: transparent;
height: 300px;
perspective: 1000px;
}.card h1 {
font-size: 25px;
border-bottom: 1px #fff solid;
padding-bottom: 10px;
margin-bottom: 10px;
}.card img {
width: 100%;
height: 300px;
object-fit: cover;
}.card-inner {
position: relative;
width: 100%;
height: 100%;
transition: transform 0.8s;
transform-style: preserve-3d;
}.card:hover .card-inner {
transform: rotateY(180deg);
}.card-front,
.card-back {
position: absolute;
width: 100%;
height: 100%;
-webkit-backface-visibility: hidden;
backface-visibility: hidden;
}.card-back {
background-color: #333;
color: white;
padding: 20px;
transform: rotateY(180deg);
}.card li {
list-style: none;
padding-bottom: 10px;
}@media (max-width: 800px) {
.cards {
grid-template-columns: repeat(2, 1fr);
}
}@media (max-width: 500px) {
.cards {
grid-template-columns: 1fr;
}
}
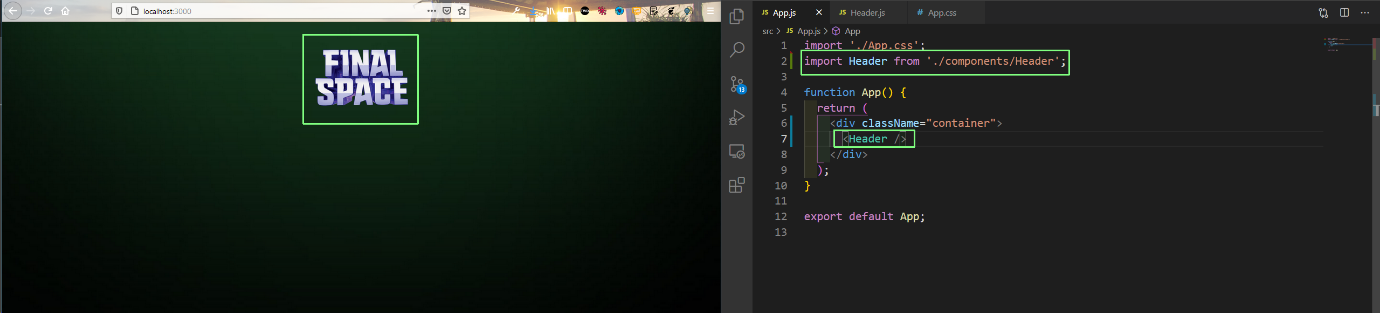
We will next include the Header component in App.js file and we will see the nice header over a green background.
Now, we need to do the API call, so we will install axios from the Integrated Terminal.
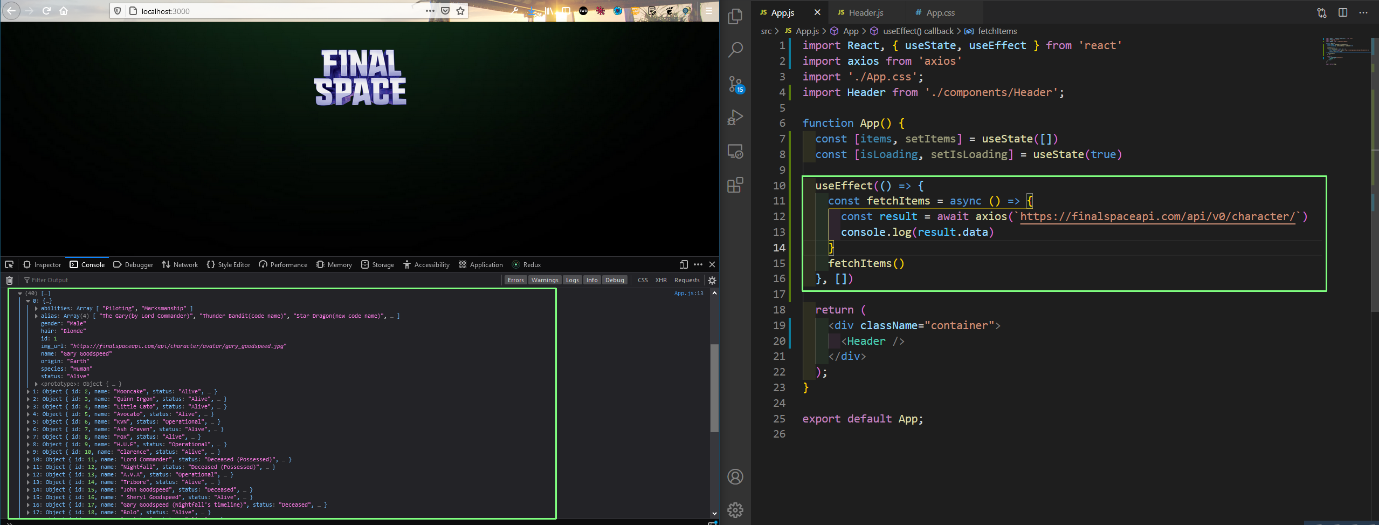
We are then importing useState, useEffect and axios at the top and then creating two state variables, items and isLoading using the useState hook.

Now we will use the useEffect hook to hit the final space API endpoint to get all the characters in the series. Notice that we are using an empty array as second parameter, so that the API call is done only after the initial render.
We are getting back an array of object from the API as shown in the console.
After this, we will create a CardGrid.js file in the components folder. Here, we are checking whether isLoading is true and displaying the ‘Loading…’ text. If it is false, we are mapping through the items array and passing individual object to the CardItem component

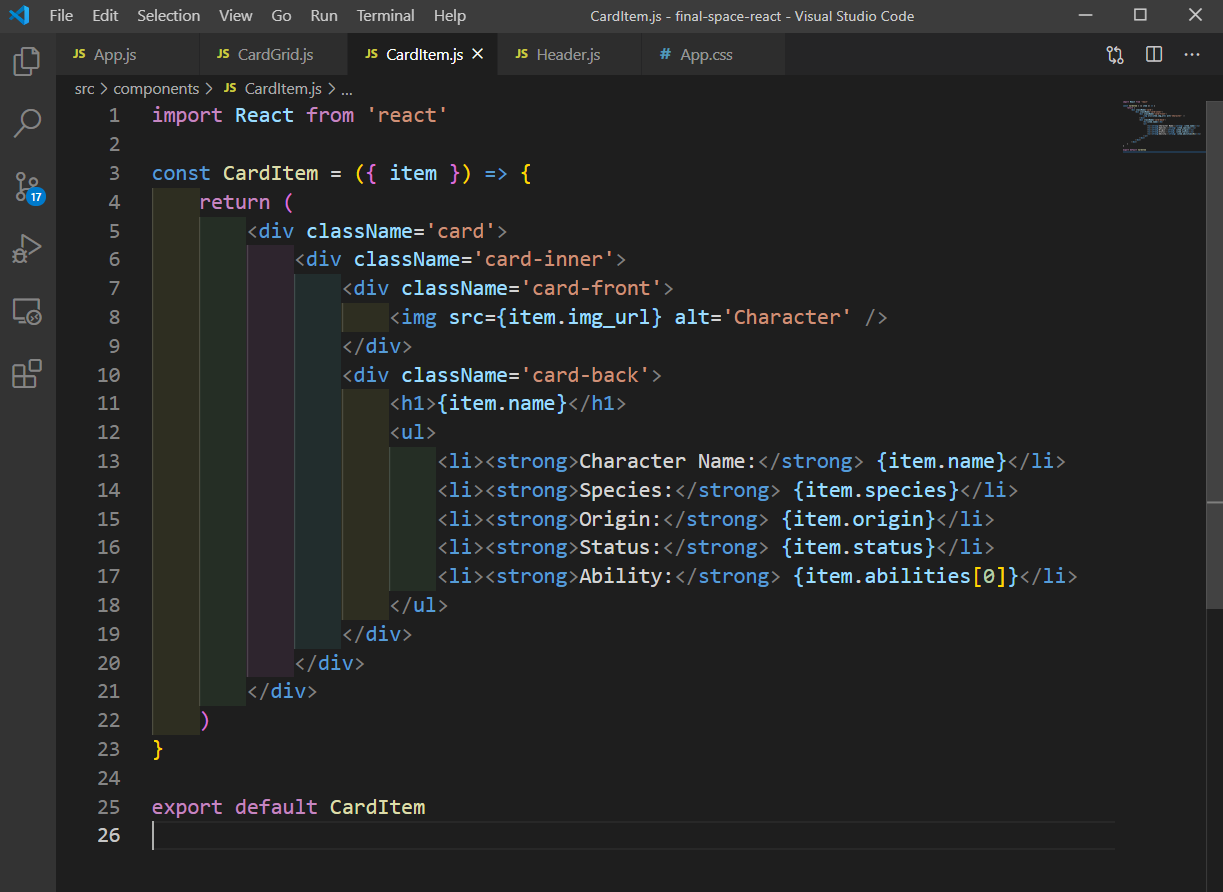
Next, create a file CardItem.js inside the components folder. We are just using the pre-defined classes in App.css and showing the received image in the Card front and all the other data in Card back.
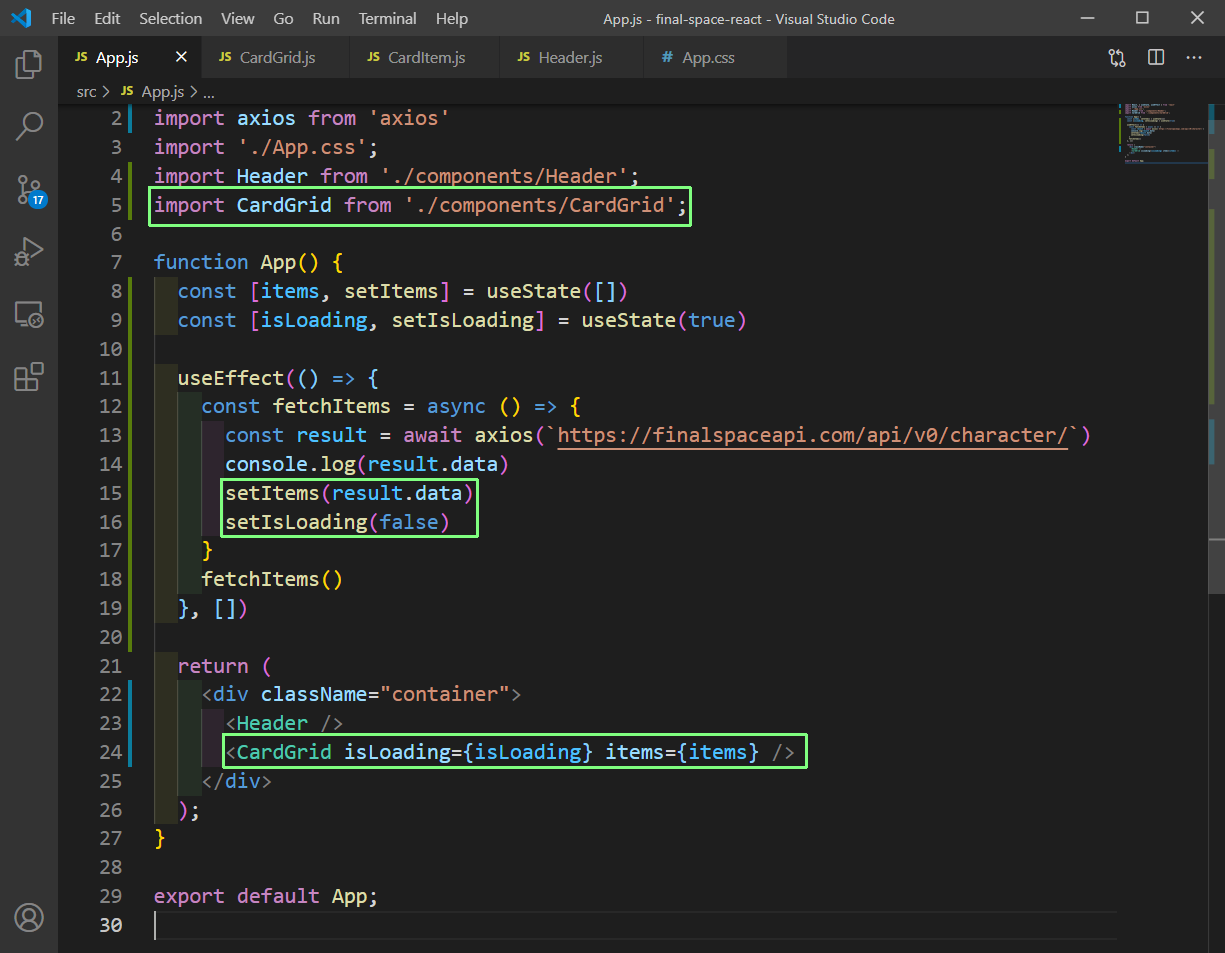
We will then move back to App.js file. Here, we will first set the state inside the useEffect hook.
After which, we are importing the CardGrid at top and passing isLoading and items as props to it, inside the return statement.
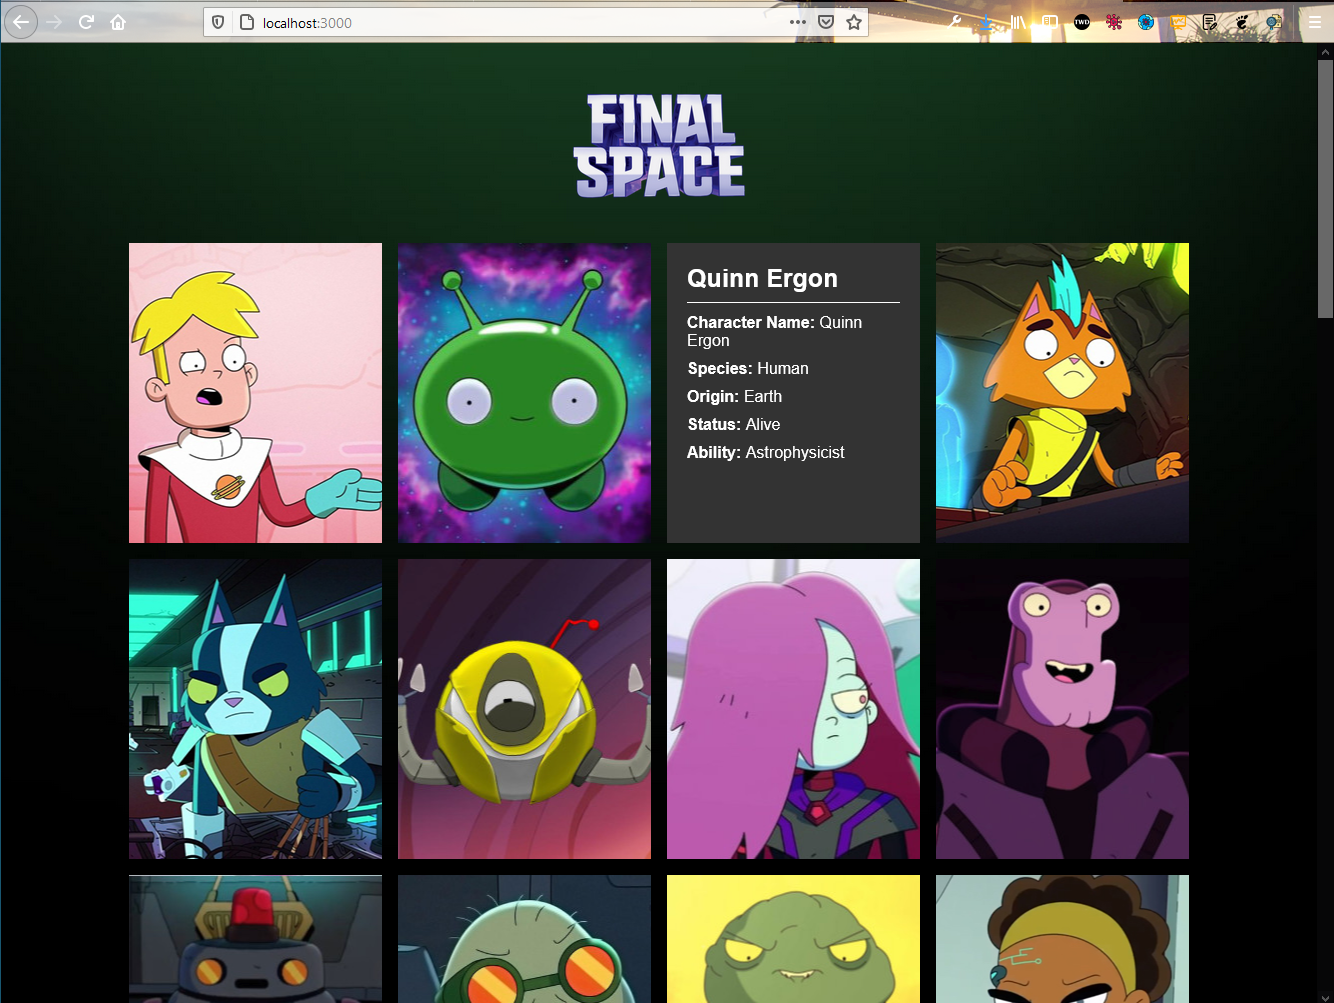
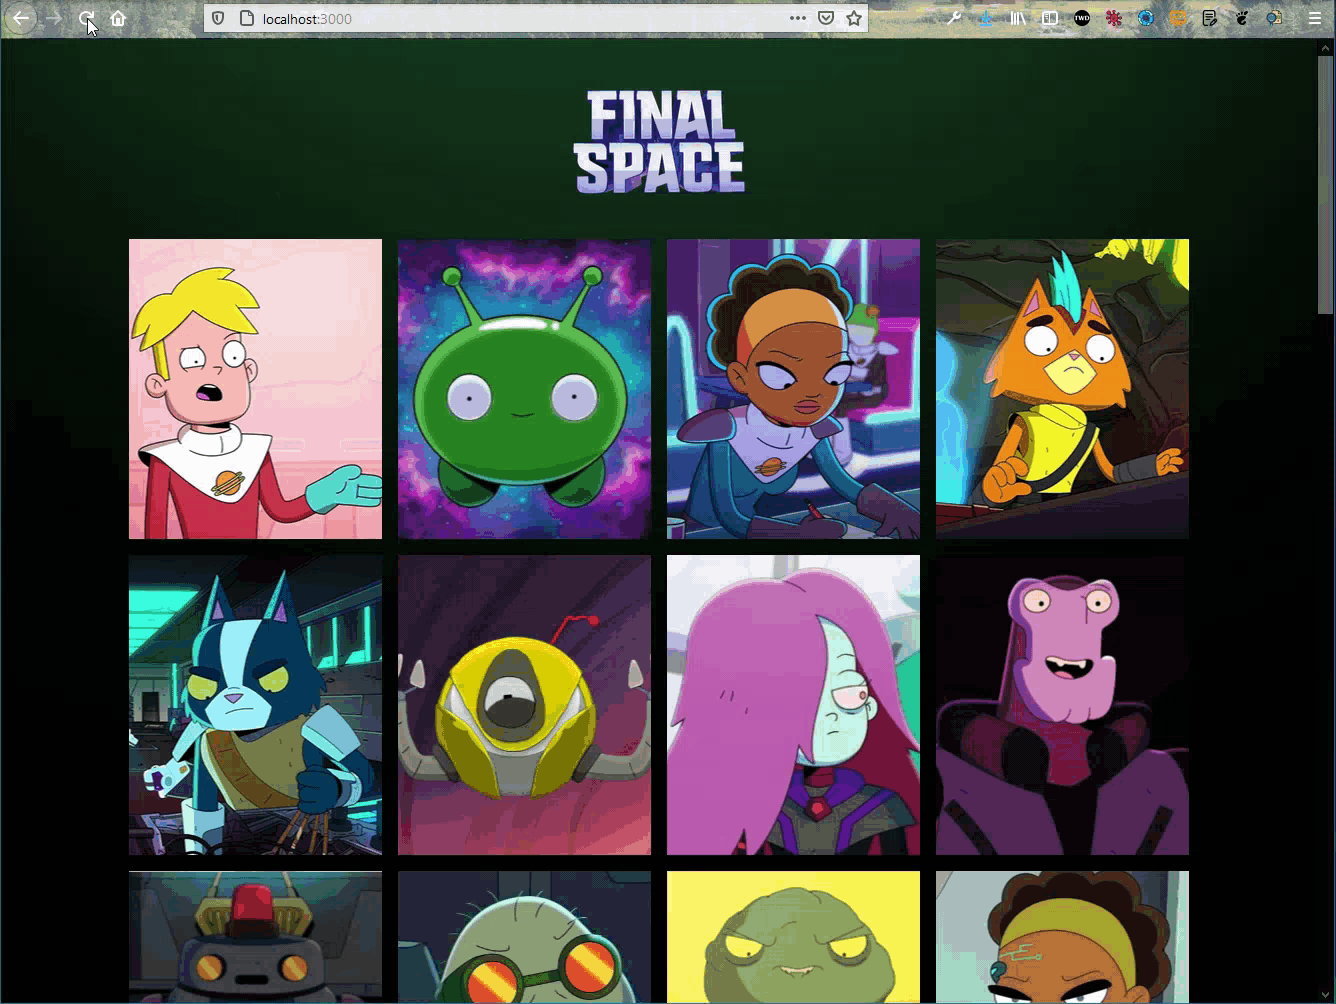
Now, if we go to localhost, we can see all the characters from Final Space.
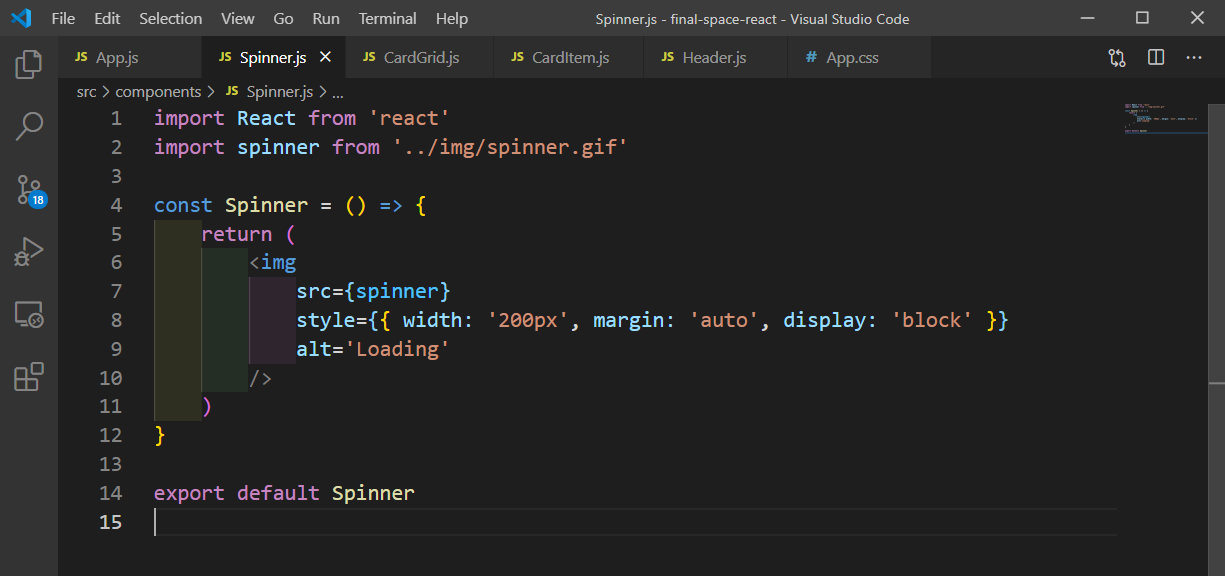
Now we have one thing remaining and that is to show the spinner gif, instead of the ‘Loading…’ text. So, we will create a Spinner.js file inside the components folder and show the spinner using image.
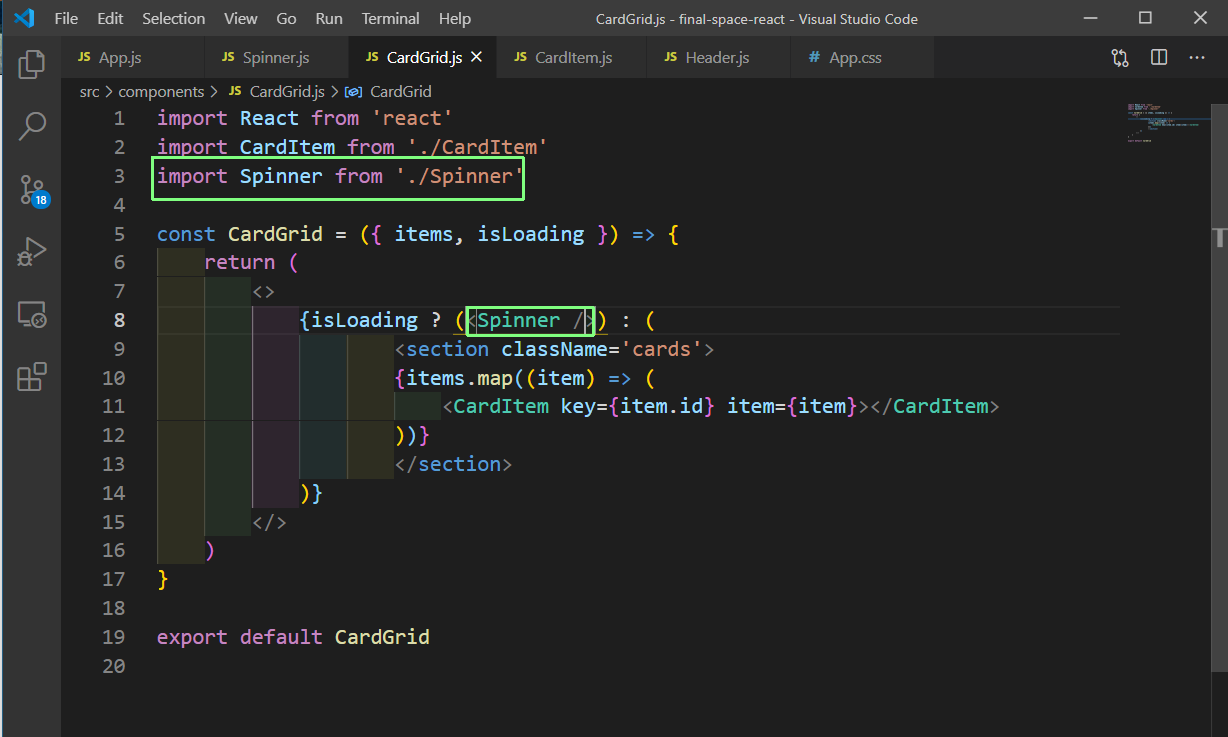
Next, we will show the Spinner in the CardGrid.js file.
Our App is complete now. You can find code for the same in this GitHub repo.
In this blog, we have learnt to create a simple ReactJS app and get data from the Final Space API. We have displayed the data in a nice fashion in our app, with the help of CSS.

-Jun-22-2021-07-16-31-97-AM.png?width=150&height=150&name=MicrosoftTeams-image%20(4)-Jun-22-2021-07-16-31-97-AM.png)