Introduction
Apple Inc, introduced a powerful feature Stack Views from IOS 9, XCode 7 to make developer's life easy while creating UI. Using Stack Views, we can arrange all UI objects in either Rows or Column.
If we are using Stack Views we can shelve using auto layout constraints.
After reading this blog you will be able to learn following concepts.
- What is Stack View?
- Where to use Stack Views?
- How to use Stack Views?
- Usage of Stack Views?
What is a Stack View?
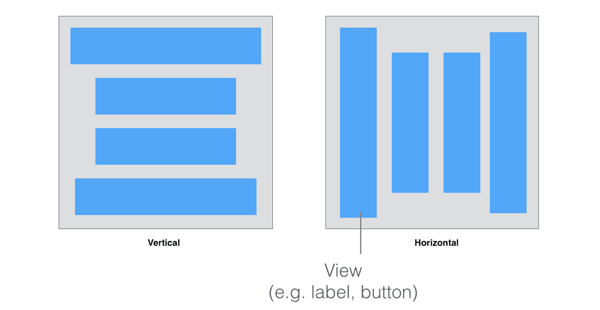
Stack View provides a streamlined interface for laying out a collection of views in either a column or a row. For views embedded in a Stack View, they are usually known as Arranged Views.
If Views are arranged in a row it is called Horizontal Stack View. If views are arranged in a column it is called Vertical Stack View.
Where to use Stack View?
If you want to arrange views in a particular order, then the Stack View is really helpful without using any auto layouts. Inner views can be a combination of anything. ex: Buttons, Labels, Image views etc.
How to use Stack View?
We have two ways to use stack view in Xcode:
- You can select a Stack View either vertical or horizontal from the Object library, and place it into the storyboard. You then drag and drop view objects such as labels, buttons and image views into the Stack View.
- Also, you can use the Stack Views in the auto layout bar. For this approach, you select two or more views and then choose the Stack option. Then the Interface Builder embeds the objects into a Stack View and resizes it automatically.
Let’s create a Register Screen with Stack Views.
Create Xcode Project
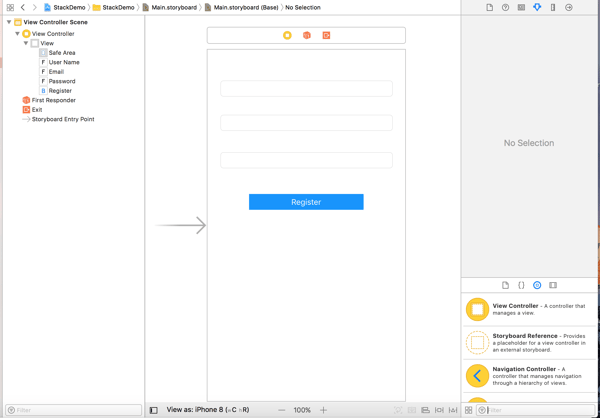
Add Username, Email, Password text fields in the storyboard. Add Register button
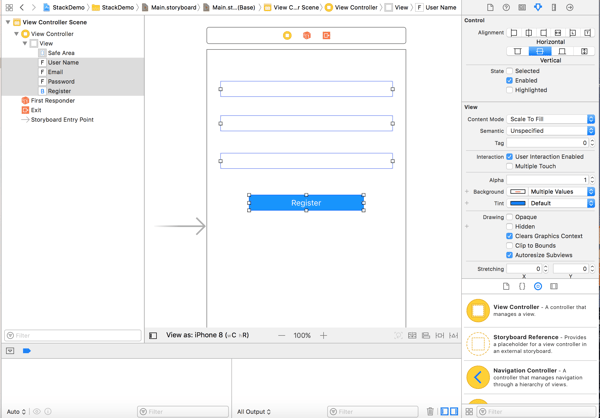
Select all Subviews
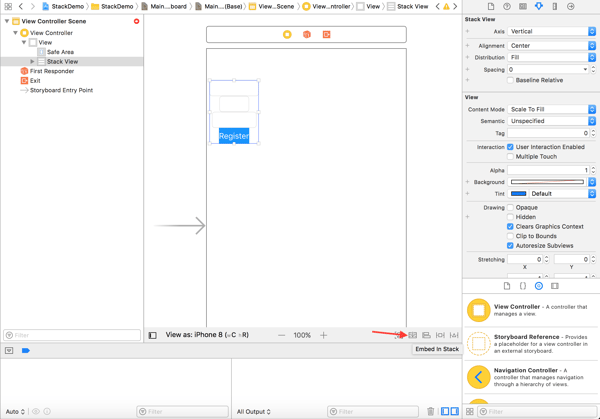
Select embedded in stack option from layout section
Don't panic, you are on the right path. You need to adjust Stack View. Add constraints for Stack View. I have added as follows:
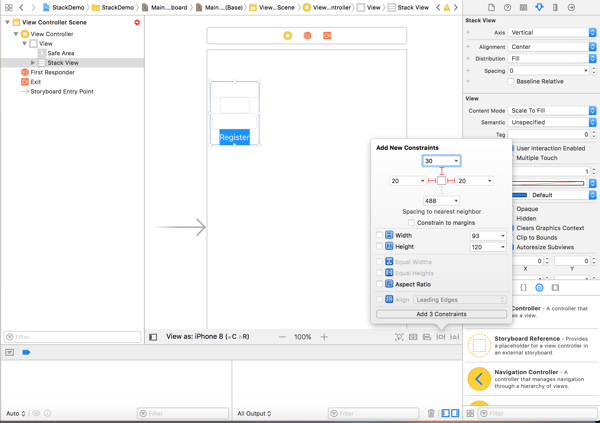
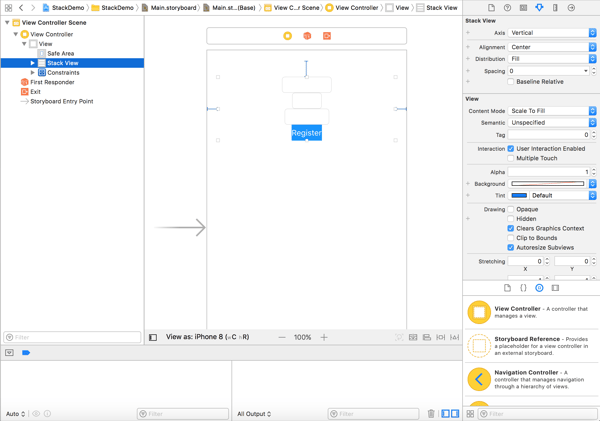
Add constraints. Now Stack View looks as follows:
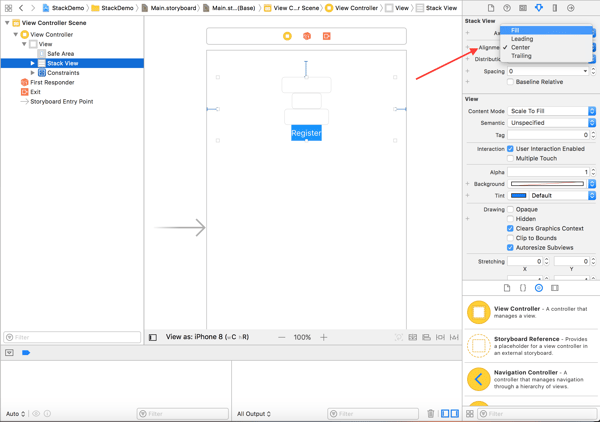
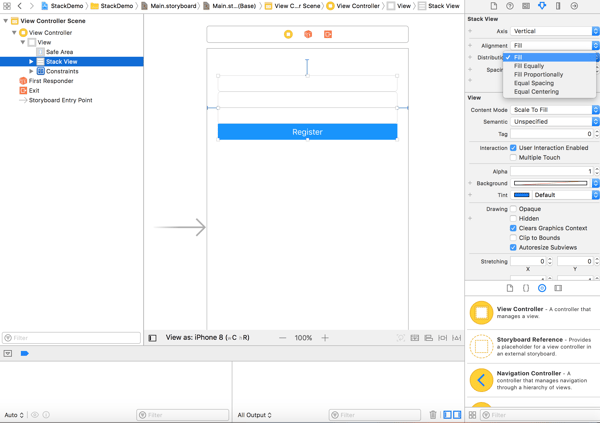
Select Stack View alignment settings. And select Fill option to fill views in Stack View
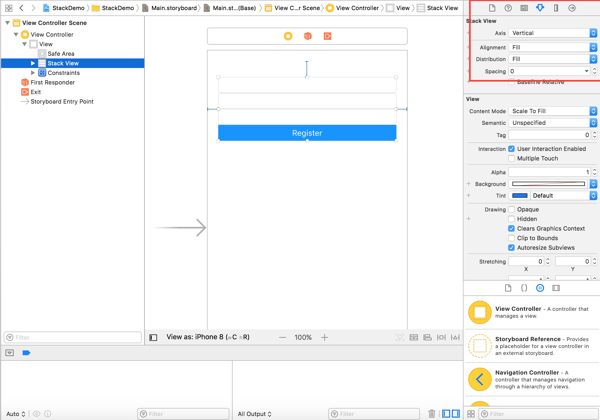
For spacing between views select Distribution and make equal spacing. Also, you can add space using spacing option below to Distribution. By default, it is 0

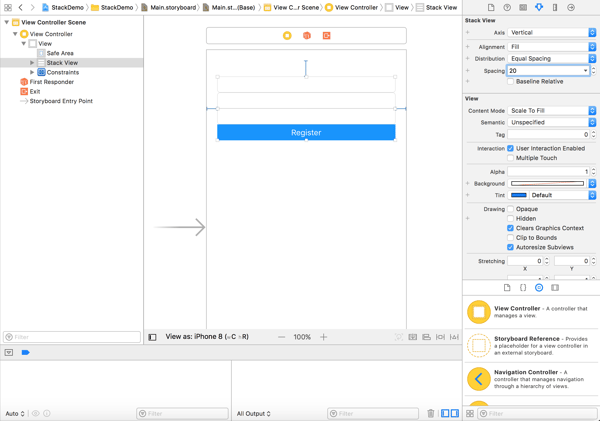
Now UI looks as follows:
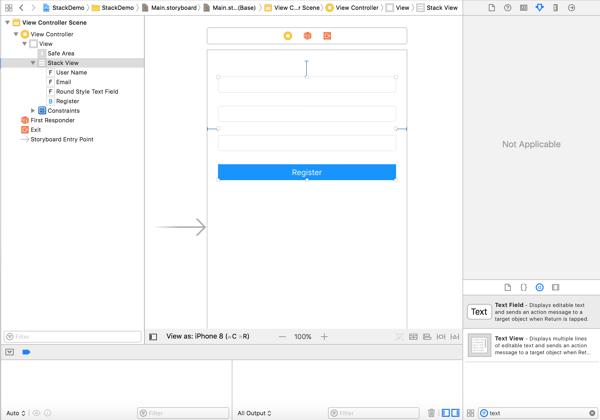
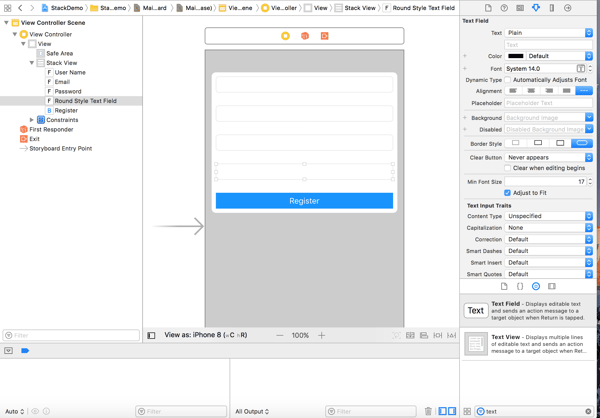
If you add another text filed in Stack View. It will automatically adjust UI as follows:
Summary:
In this sample, I have created a register screen with Stack Views. You can add buttons, text fields easily without changing layouts. It will auto adjust. Stack View simplifies developing user interfaces. Especially if you are using repeated elements or similar views Stack Views will come handy.